


Woohoo!
I just got my hands on a 20×4 serial LCD from Sparkfun. It’s basically a standard LCD with a little PIC based serial TTL interface board plugged on it.
10 lines of code and 3 wires later, I had a wonderful “Hello world” displayed on screen. The only problem is that I was using pin 1 (TX) which is shared with the serial USB interface. So when the sketch is uploaded, it’s also sent to the SerLCD. And you end up with garbage on screen. Hopefully, Arduino comes with a soft serial class. It lets you use custom pins for serial communication. The only downside it that it can only run at 4800 baud or 9600 baud.
Next serial fun : 4DSystem’s µDRIVE-uSD-G1.
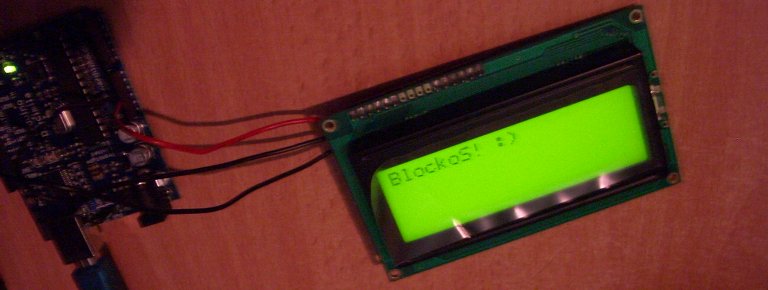
Here’s the result!
The mandatory piece of code.
#include <softwareSerial.h>

#define SERLCD_CMD                  0xFE

#define SERLCD_CLEAR                0x01
#define SERLCD_MOVE1_R              0x14
#define SERLCD_MOVE1_L              0x10
#define SERLCD_SCROLL_R             0x1C
#define SERLCD_SCROLL_L             0x18
#define SERLCD_DISP_ON              0x0C
#define SERLCD_DISP_OFF             0x08
#define SERLCD_UNDERLINE_CURSOR_ON  0x0E
#define SERLCD_UNDERLINE_CURSOR_OFF 0x0C
#define SERLCD_BLINKING_CURSOR_ON   0x0D
#define SERLCD_BLINKING_CURSOR_OFF  0x0C
#define SERLCD_SET_CURSOR_POS       0x80
#define SERLCD_CURSOR_OFF           0x0C


#define rxPin 6
#define txPin 7

void setup()
{
  char *str = "BlockoS! :)";
  char *cursor;

  SoftwareSerial mySerial =  SoftwareSerial(rxPin, txPin);

  pinMode(rxPin, INPUT);
  pinMode(txPin, OUTPUT);

  mySerial.begin(9600);

  mySerial.print(SERLCD_CMD, BYTE);
  mySerial.print(SERLCD_CLEAR, BYTE);

  mySerial.print(SERLCD_CMD, BYTE);
  mySerial.print(SERLCD_BLINKING_CURSOR_ON, BYTE);

  for(cursor=str; *cursor!='\0'; ++cursor)
  {
    mySerial.print(*cursor, BYTE);
  }
}

void loop()
{
  /* Nothing */
}